Volvo 850 Weld-In Roll Cage Kit – DIY Motorsport Cage (Material: Standard CDS, Fitting: No)
🔧 Volvo 850 DIY Weld-In Roll Cage Kit – Built for Motorsport & Track Enthusiasts!
Upgrade your Volvo 850 with our DIY Weld-In Roll Cage Kit, designed for motorsport, track day enthusiasts, and performance builds. This high-strength, precision-engineered kit reinforces chassis rigidity, enhances driver safety, and provides the structural integrity required for serious track use.
🔴 IMPORTANT: This is a weld-in kit for competent fabricators only. Advanced welding and fabrication skills are required. If you need professional installation, contact us for recommendations.
🏆 Key Features of the Volvo 850 Weld-In Roll Cage Kit
✔ Motorsport-Grade Safety – Designed for track day, rally, and performance applications
✔ Precision CNC-Notched Tubing – Ensures seamless fitment and easy assembly
✔ Fully Labeled Components – Pre-marked tubes simplify the installation process
✔ Heavy-Duty Construction – Reinforces the chassis for improved crash protection
✔ Compliant with Motorsport Regulations – Built to meet MSUK Blue Book Regulations
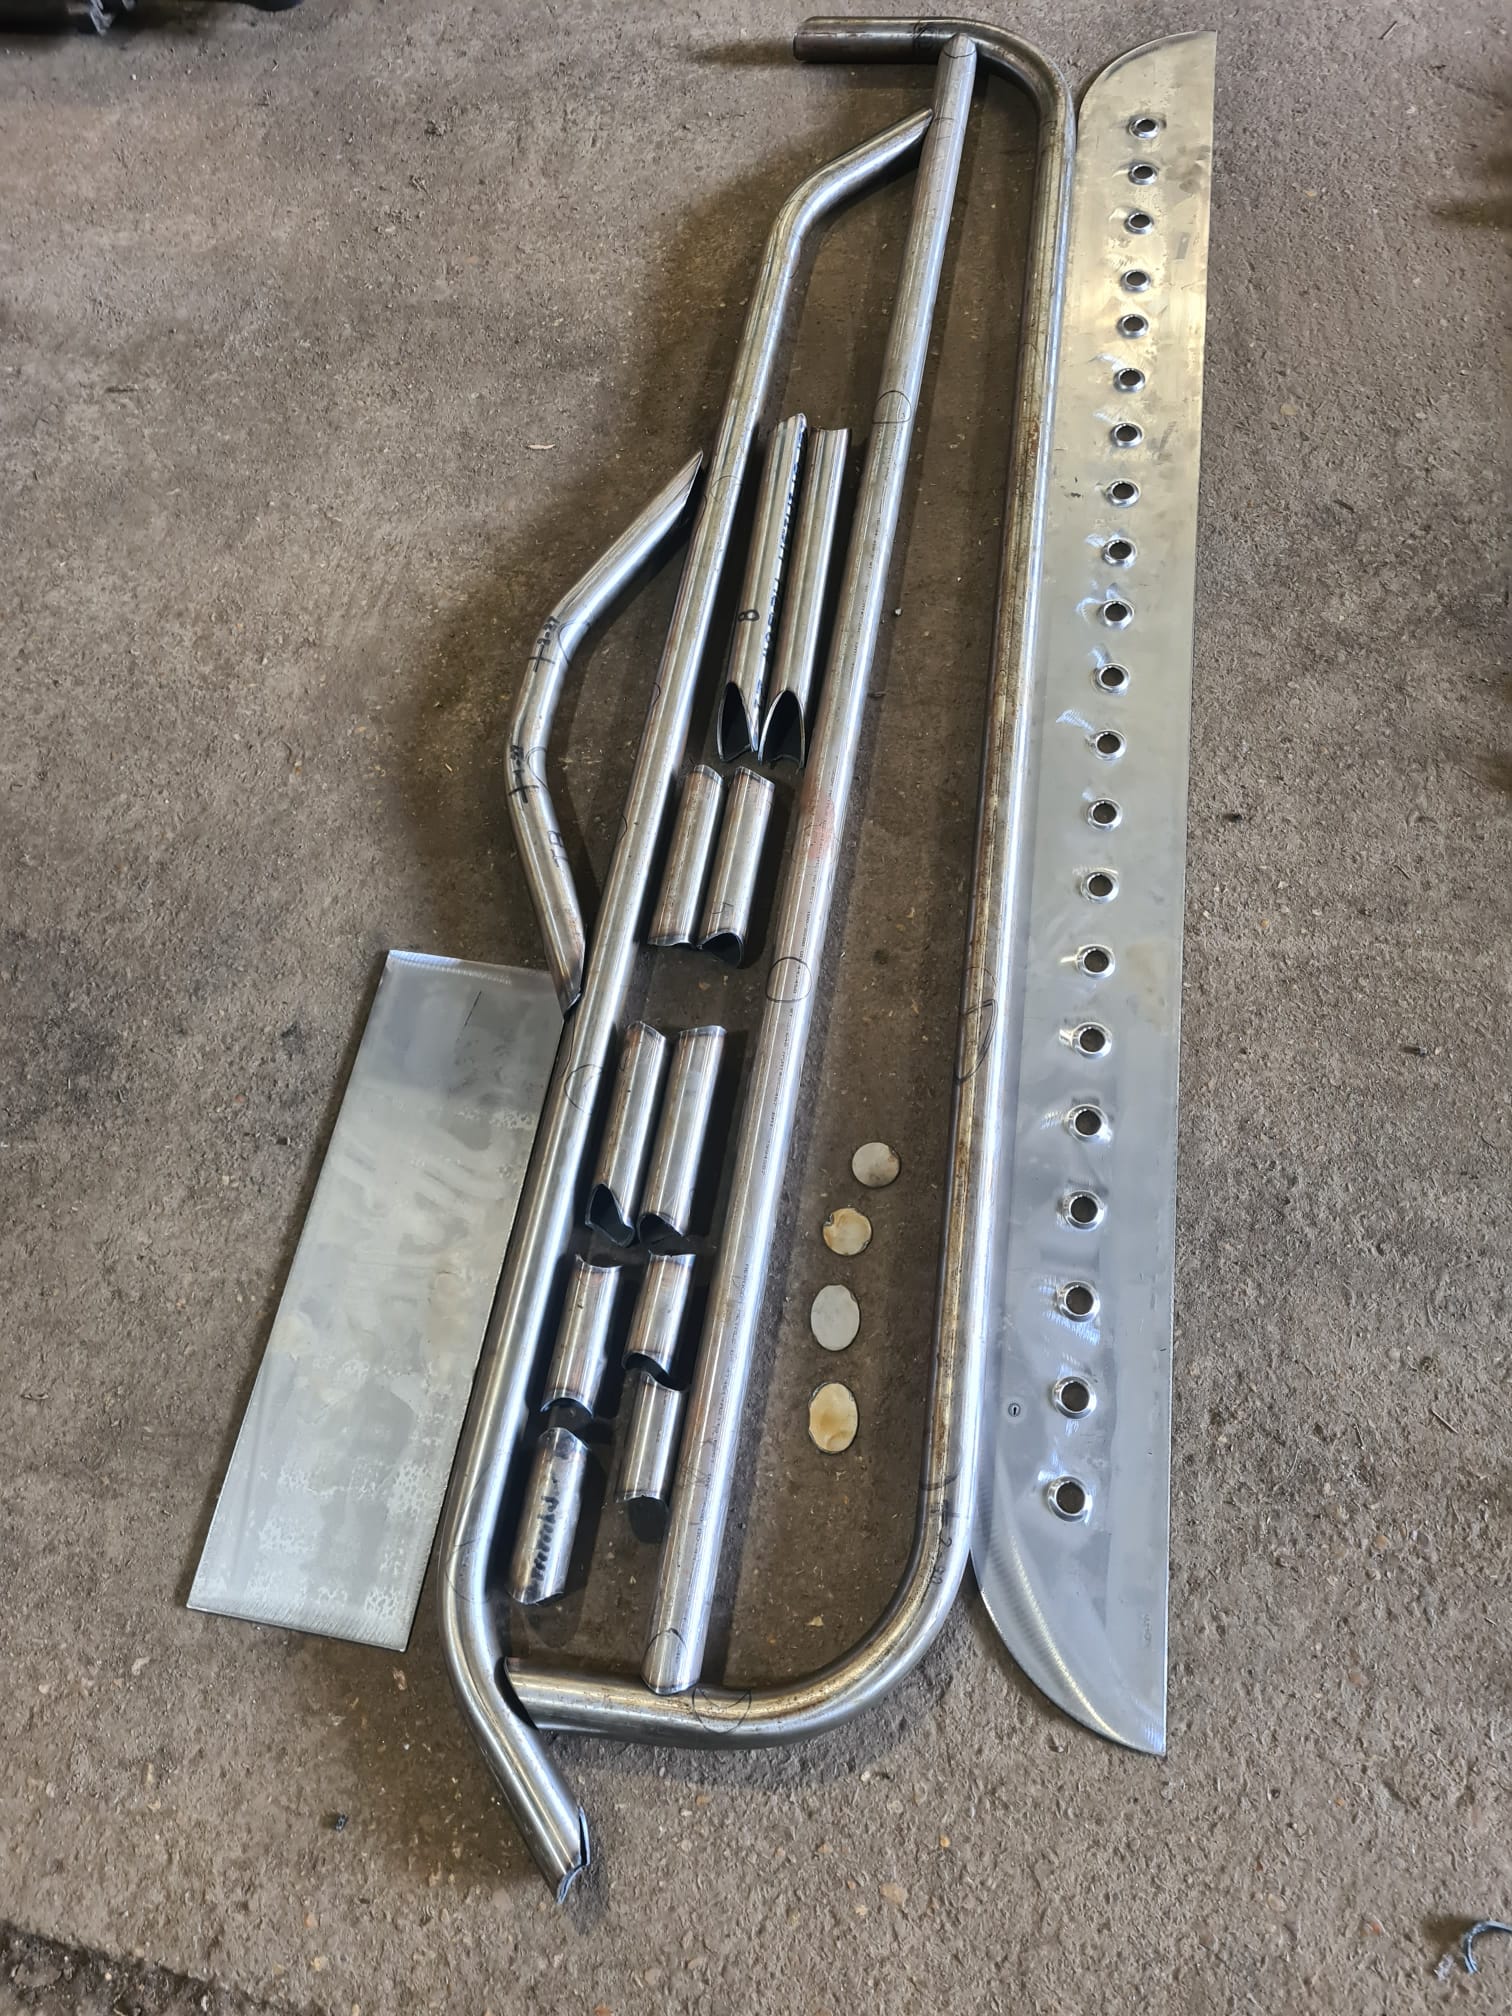
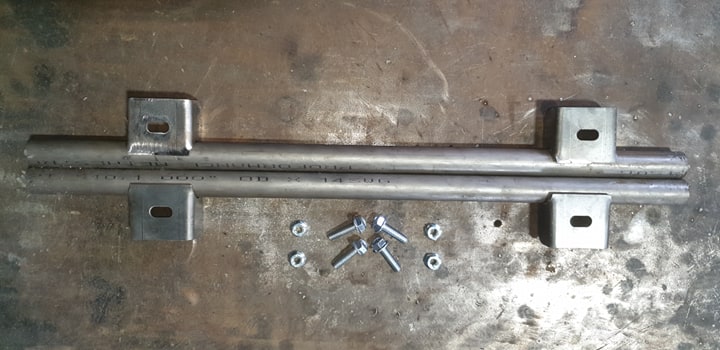
✔ Mounting Plates & Footplates Included – For secure and reinforced installation
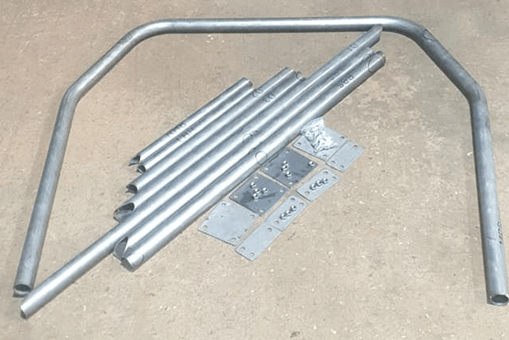
🔹 What’s Included in the Volvo 850 Weld-In Roll Cage Kit?
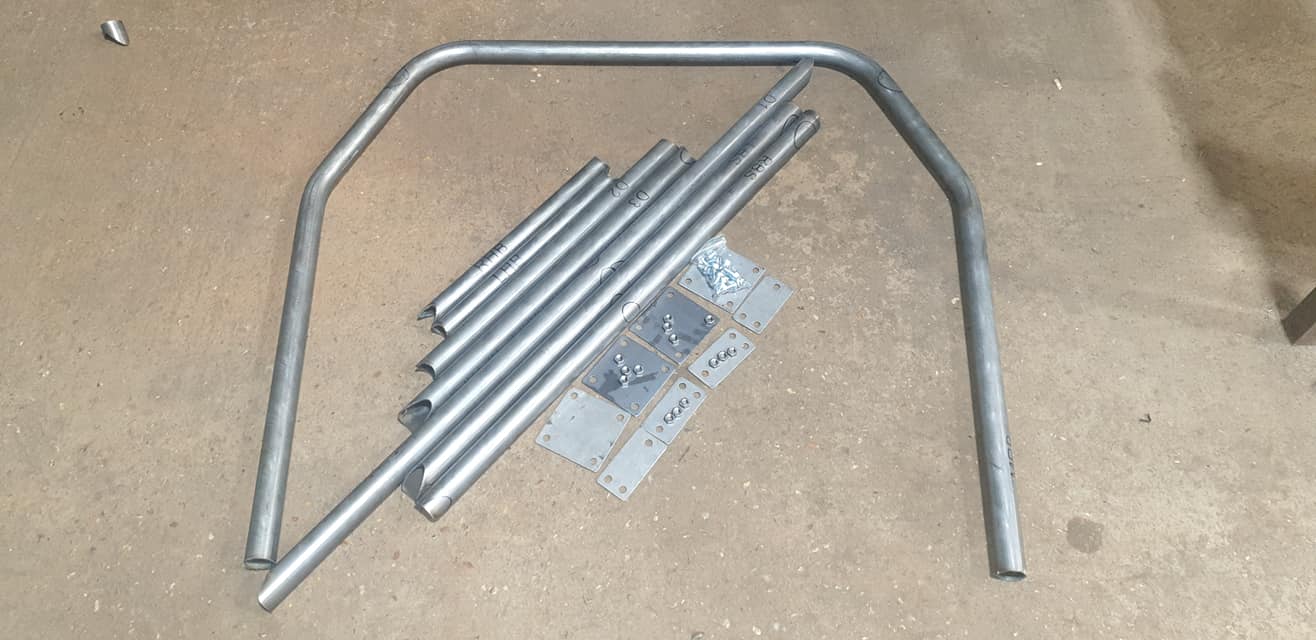
This complete weld-in kit includes all necessary bars, gussets, and mounting components for a track-ready installation.
📌 Structural Components:
✔ Main Roll Bar (MRB) – Provides core structural support
✔ A-Pillar Bars (LAB/RAB) – Reinforces the front chassis
✔ Front Roof Bar (RFB) – Adds overhead protection
✔ Rear Stays (RB/LB) – Strengthens chassis rigidity
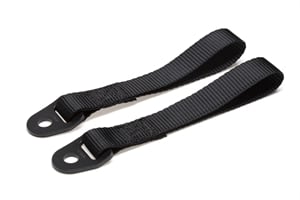
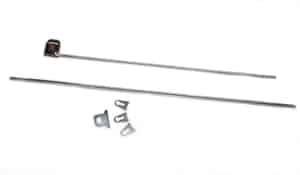
✔ Left/Right Harness Bars (LH/RH) – Securely mounts harnesses
📌 Bracing & Diagonals:
✔ Centre Diagonals (CD1, CD2, CD3) – Additional chassis reinforcement
✔ Roof Diagonals (RD1, RD2, RD3) – Provides structural stability
📌 Door Bars & Supports:
✔ Upper Door Bars (LUD/RUD) – Strengthens side impact protection
✔ Lower Door Bars (LLD/RLD) – Additional door impact resistance
✔ A-Pillar Supports (RAPS/LAPS) – Further enhances safety
📌 Additional Gussets & Mounting:
✔ Centre X Gussets – Improves rigidity at key stress points
✔ Door Bar Gussets – Reinforces door bar intersections
✔ Roof X Gussets – Increases roof strength
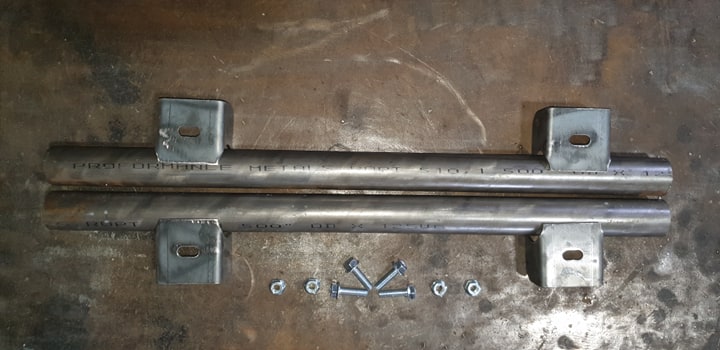
✔ 40mm A-Pillar Gussets – Improves front chassis connection
✔ Mounting Plates & Footplates – Provides strong, secure mounting
💡 Note: Some minor fettling may be required. All tubes and plates must be cleaned and prepped before welding.
🔹 Step-by-Step Installation Guide
This kit is designed for easy assembly by experienced fabricators. Follow these steps for a secure and professional installation:
🔧 Preparation:
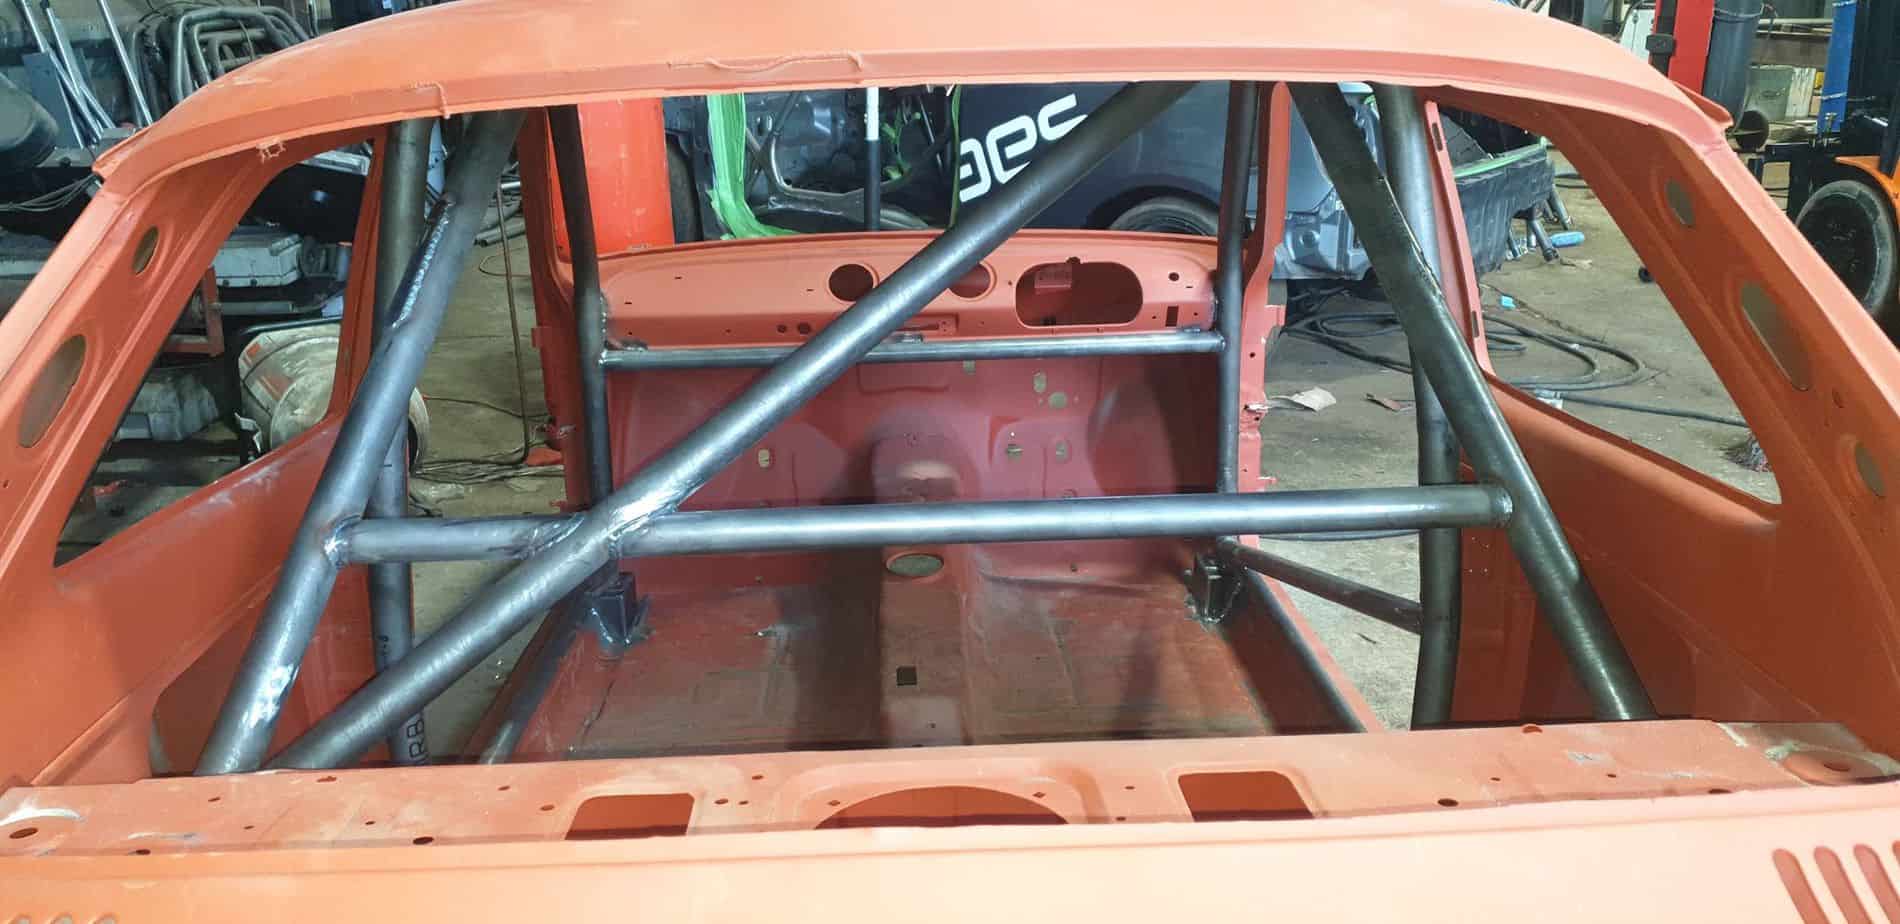
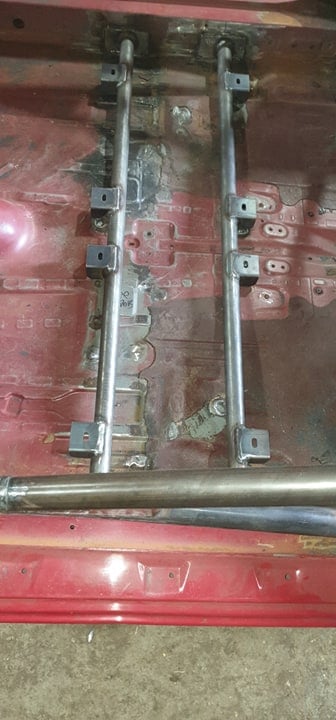
1️⃣ Review images for reference on mount positioning
2️⃣ Remove unused body components for clearance
3️⃣ Clean paint from the chassis in all mounting areas
🔧 Mounting the Main Roll Bar & Front Section:
4️⃣ Drill a 45-50mm hole under each mount for the main hoop legs to drop into the chassis rail
5️⃣ Tack weld the mounting plates in place
6️⃣ Position the Main Roll Bar (MRB) and tack weld the base
7️⃣ Fit and tack weld the A-Bars (LAB/RAB) & Lower Door Bars (LLD/RLD)
8️⃣ Secure the Front Roof Bar (RFB) and door bars to confirm proper alignment
🔧 Roof & Rear Assembly:
9️⃣ Install and tack weld the Roof Diagonals & Centre X Bracing
🔟 Align the Rear Stays (RB/LB) using the positioning marks, then tack them in place
1️⃣1️⃣ Fit and tack weld all remaining components
🔧 Final Welding & Completion:
1️⃣2️⃣ Weld all visible joints, but do not weld the mounts or feet yet
1️⃣3️⃣ Break the mounts off the body and remove the cage
1️⃣4️⃣ Fully weld all hidden joints for maximum strength
1️⃣5️⃣ Reinstall the cage, secure the mounts, and weld all final connections
💡 Pr